
When I was researching lights for the craft room, I chose to buy them from Ikea for 2 reasons. First, Ikea is incredibly affordable. You get great supplies for a decent price. And second, most of their lights usually plug into outlets which is what I have in the ceiling of the craft room. The outlets are wired to a switch outside the room and I really wanted to keep it that way. It is much cheaper and easier to just stick with what I had instead of removing the plugs and figuring out how to hang the lights.
So, this is what I started with.
I was already aware that I was buying a light that was wired the wrong way but after some heavy thinking, I decided to go ahead with it all. I placed a call to my personal Bob the Builder (aka Aunt Charlene who, by the way, looks just like Lily Tomlin) and she convinced me that I could change them to a plug so I could use them in my room.
Off to Home Depot we went. And this is what I found.

Check out that hitchhiker's thumb! Any way, I chose this particular one because it was the cheapest, black, which matches the cord, and it has a grounding pin.
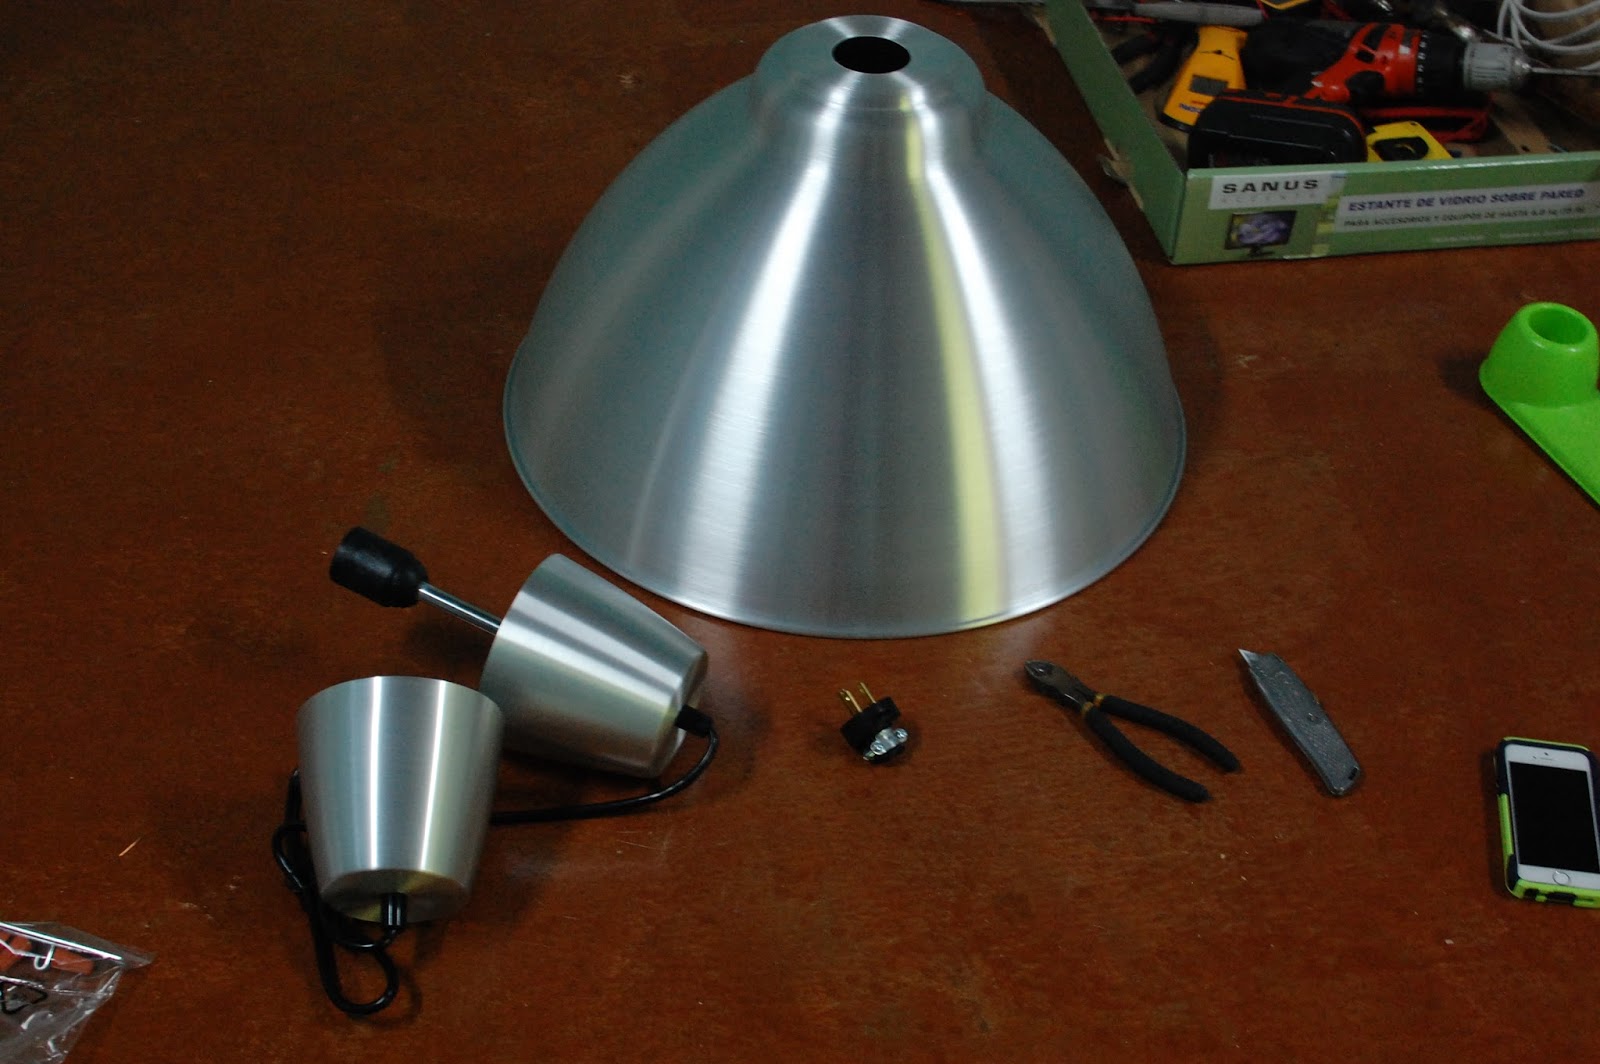
After I got them home, I had to figure out how all of this worked. B has taught me how to hang lights before so it wasn't totally foreign to me.

The hardest part was prying the rubber cap off. A screw driver really comes in help here.
After I got it opened, this is what I saw.

This is what the light looked like.

Next, I had to feed the wires through the rubber cap. A few times I accidentally skipped this step and had to undo everything.

Next up was screwing them in to the screws.

I'm not sure if this is the wrong logic but because one screw was darker than the other, I decided to match up the black with that one and the white with the lighter one. *Spoiler alert* It worked.
This step is pretty simple. Make sure you wrap your cords around the screws and then screw them in. I tried to make sure the wire filaments were traveling in the same direction that the screw would be moving.
Next is putting it back together.

Ta da!! Finished.
To sum it up.
Before.

This was a way before picture but I think you understand.
And after.

My statement piece. Oh and the room is definitely not this tidy at the moment. I was hoping J would use it as a play area with his toys but I find that I'm organizing things and then undoing everything because he wants to play with paint, draw with chalk on the floor or stick pipe cleaners up his nose. So much for that idea.
On to the next project.
-W
No comments:
Post a Comment